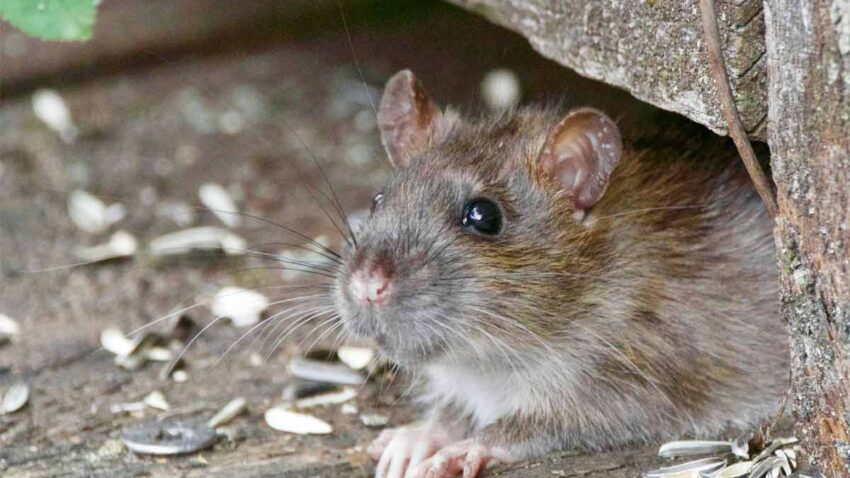
Wasp nests can pose a significant threat to the safety and comfort of homeowners in Richmond Hill. Wasps can be aggressive, and their stings are not only painful but can also cause severe allergic reactions in some individuals. Safely removing a wasp nest requires knowledge, the right gear, and proper techniques. To help you remove any wasp nests from your home, use this guide to make the job a little easier. It outlines essential gear and techniques for safe wasp nest removal, ensuring the task can be done more effectively and without unnecessary risk.
Understanding Wasp Behaviour and Nest Types
Before diving into the specifics of gear and techniques, it is crucial to understand wasp behaviour and the types of nests they build. Wasps are generally more aggressive in late summer and early autumn when their colonies reach peak populations and food becomes scarcer. Common types of wasps in Richmond Hill include yellow jackets, paper wasps, and hornets, each building different types of nests.
- Yellow jackets typically build nests in concealed, underground locations or within wall cavities.
- Paper wasps construct umbrella-shaped nests that are often found hanging from eaves, branches, or other sheltered spots.
- Hornets, which are larger and more aggressive, usually create large, football-shaped nests in trees or shrubs.
Recognizing the type of wasp and nest can help in planning the removal process.
Essential Gear for Wasp Nest Removal
Proper gear is vital for ensuring safety during wasp nest removal. Here is a list of essential items you’ll need before you start:
-
1. Protective Clothing
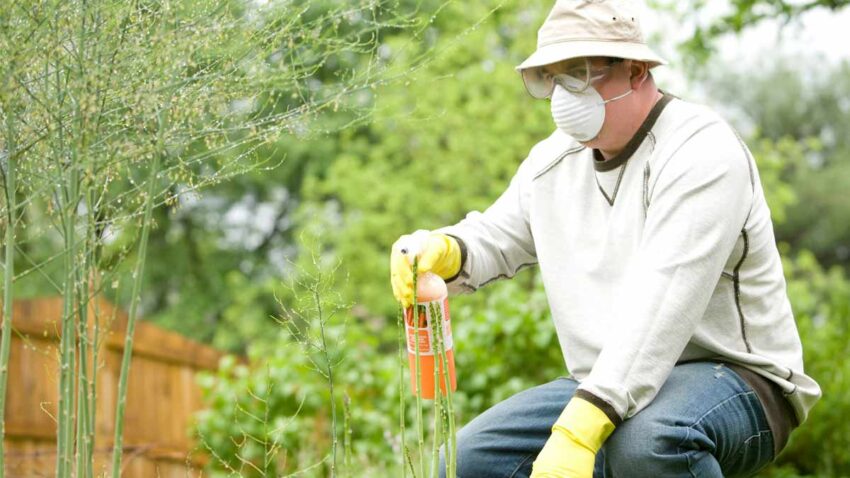
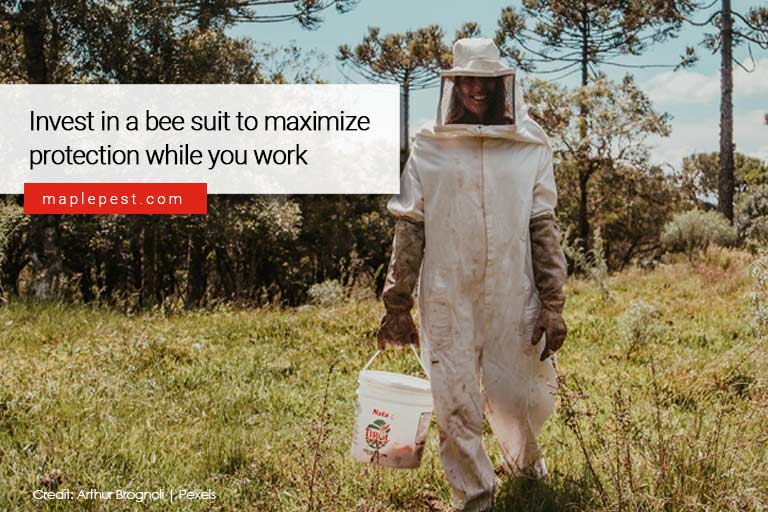
Wearing appropriate protective clothing is the first line of defence against wasp stings. A full-body bee suit with a veil is ideal, providing comprehensive protection. If a bee suit is unavailable, wear thick clothing that covers your entire body, including long sleeves, long pants, gloves, and closed-toe shoes. Tuck your pant legs into your socks and secure your sleeves to prevent wasps from crawling inside your clothing.
-
 2. Gloves
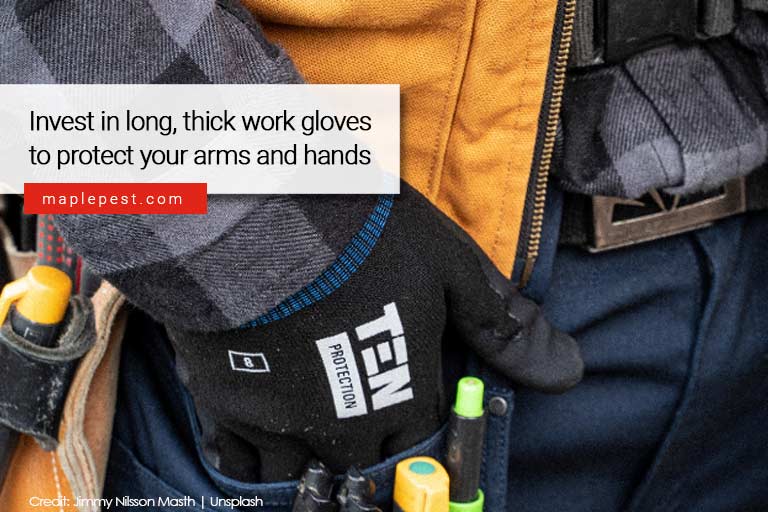 2. Gloves
Thick, long gloves made of leather or another sturdy material are crucial to protect your hands and wrists. Ensure the gloves fit well and cover the cuffs of your sleeves to prevent wasps from finding their way inside.
-
3. Headgear
A beekeeper’s veil or hat with a face net is crucial to protect your face and neck, the most vulnerable areas. This gear ensures that wasps cannot sting these sensitive areas, reducing the risk of severe reactions.
-
4. Flashlight or Headlamp
If the nest is in a dark or poorly lit area, a flashlight or headlamp is necessary to see clearly while working. This is especially important for nests located in attics, basements, or outdoor areas at dusk or night.
-
5. Wasp Spray
Commercial wasp sprays are specifically designed to kill wasps quickly and from a distance. Choose a spray that can shoot at least three metres, allowing you to maintain a safe distance from the nest while applying the insecticide. Ensure the spray is labelled for wasp control and follow the manufacturer’s instructions carefully.
-
6. Extension Pole
An extension pole can be useful for reaching nests located high above the ground. Attach the wasp spray to the end of the pole, enabling you to treat the nest from a safer distance.
-
7. Ladder
For nests situated in high places, a sturdy ladder is essential. Ensure the ladder is stable and placed on even ground before climbing. It’s advisable to have someone hold the ladder for additional stability.
Techniques for Safe Wasp Nest Removal
Once you have the right gear in place, your next step is to use the correct techniques for safe wasp nest removal. Here are the key steps:
-
1. Plan the Removal Time
Wasps are less active during the cooler parts of the day, typically early morning or late evening. Plan the removal during these times to reduce the likelihood of encountering aggressive wasps. Avoid removing nests during the heat of the day when wasps are more active.
-
2. Approach the Nest Slowly and Quietly
Move towards the nest slowly and quietly to avoid startling the wasps. Sudden movements or loud noises can provoke an attack. Approach from the side rather than directly in front of the nest’s entrance.
-
3. Use the Wasp Spray
Once in position, use the wasp spray according to the manufacturer’s instructions. Aim to saturate the nest thoroughly. Spray for the recommended duration, ensuring that the wasps inside are killed. Be ready to retreat if the wasps become agitated.
-
4. Wait and Observe
After applying the spray, wait and observe the nest from a safe distance. Give the insecticide time to take effect, typically 24 hours. Check for any remaining wasp activity. If wasps are still present, reapply the spray.
-
5. Remove the Nest
Once you are certain the wasps are dead, it is time to remove the nest. If the nest is accessible, carefully detach it using a long-handled tool, such as a broom or pole. Place the nest in a plastic bag, seal it, and dispose of it properly. Put the nest in a plastic bag and place it in the freezer for at least 48 hours before disposing of it in a lidded garbage container. Take care to avoid putting the nest in the green bin for safety reasons. For nests in hard-to-reach areas, professional removal may be necessary.
-
6. Seal Entry Points
To prevent future infestations, identify and seal entry points where wasps may have entered your home. Check for gaps around windows, doors, and eaves. Use caulk or other suitable materials to seal these openings.
When to Call a Professional
While DIY methods can be effective for small nests in accessible locations, there are situations where professional help is necessary. Consider calling a pest control expert in the following scenarios:
– Large or Aggressive Nests
If the nest is exceptionally large or the wasps are unusually aggressive, professional expertise is required to handle the situation safely.
– Hard-to-Reach Locations
Nests located in difficult-to-access areas, such as high eaves or within wall cavities, are best left to professionals.
– Allergies
If you or anyone in your household is allergic to wasp stings, it is safer to have a professional handle the removal to avoid potential health risks.
Safe wasp nest removal requires proper gear, a well-thought-out plan, and careful execution of techniques. By understanding wasp behaviour and using the right protective equipment, you can effectively remove nests and reduce the risk of stings. Always prioritize safety, and seek professional wasp removal if you think you need help. With the right approach, you can reclaim your space and ensure a wasp-free environment.
When you need reliable pest control services, give Maple Pest Control a call. We are experienced dealing with a wide range of pests, from rodents to termites to wasps. Our team has the tools and training to tackle your pest problems safely and effectively, ensuring the work is done without too much hassle for you. Give us a call now at (416) 520-8575 and make your home pest-free.